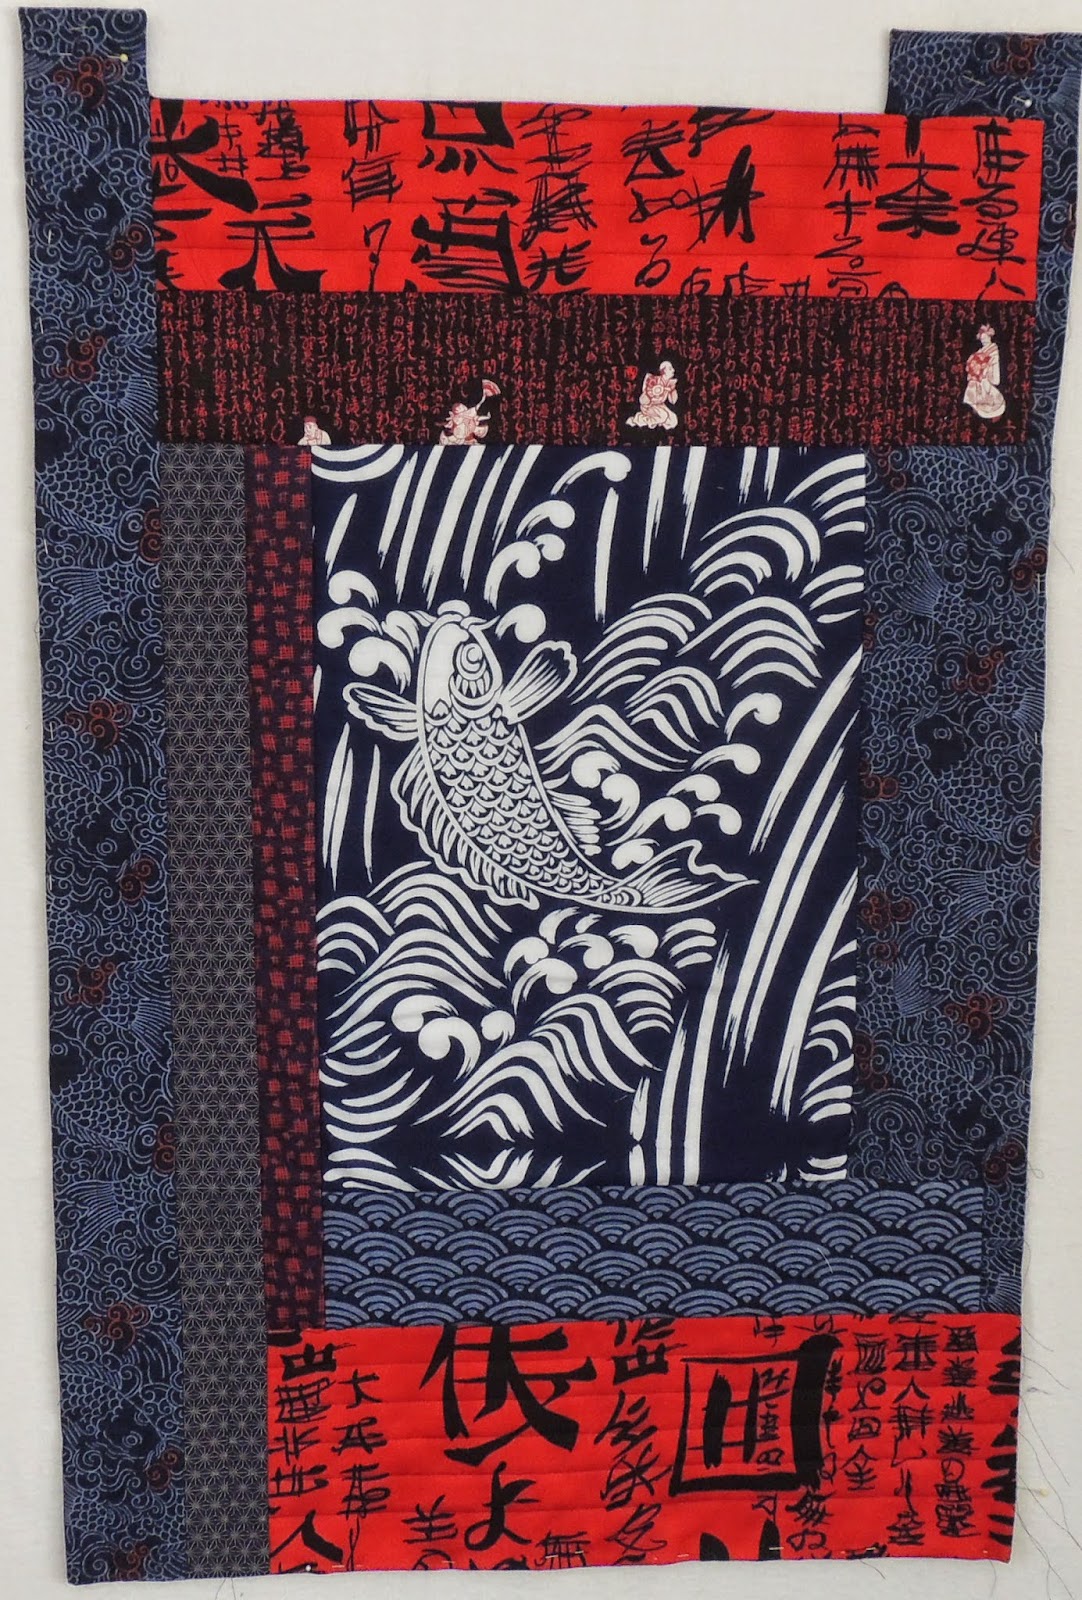
I'm always on the look out for printed panels that would make nice holiday gifts and quick decorations. Sometimes , like the panel below, you can find them off season at good discounts!
This was 1/2 of a panel that I found online for about $6.00. I also got the backing on sale, so the total cost with batting was about $7.00!
 The construction time was pretty minimal as well. Whenever possible for wall hangings and small quilts I use the following quick turn method so's to save time:
Start by putting front to back, right sides together and sewing all the way around.

On the back side cut a slit approximately in the middle of where the hanging sleeve is going to be sewn. Be careful not to cut beyond the width of the planned sleeve.

Put a few pins on both sides of the slit so it does not shift when you flip it back over to the front side. Smooth flat and place the batting over the 'wrong' side of the front...


Looks like this.
Then trim the corners for easier turning, remove the pins from the back, slide your hand in the slit (still batting side up) and with one hand inside and one hand on top, pin just the batting and the front in the four corners and middle (use more pins if the project is bigger).

Quick turn backing and front (with batting) right sides out. The batting should just fit under the flap of the sewn seam. work the corners and edges with your fingers to lay flat.

Lay out flat

Pin baste to your comfort level and quilt from the center out. Leaving the outer most border unquilted.

Lay the sleeve on the back and quilt your last round around the border; thus both quilting the border and sewing the top edge of the sleeve on in one move. Whip stitch the lower edge and ta da, all done!

I think the edges look tidier if you don't quilt right on them. By quilting on the inside line of the black border you get a much cleaner finish And best of all...No binding needed! Did I mention I am binding challenged?!
I've used this technique dozens of times, here are some examples from my archives:

Works really well with art quilts with irregular borders.


Quick Kid quilts


It's fun and easy and quick ...and not to be tooooo redundant; but, did I mention No binding needed?!
Well however you finish your quilts...
HAPPY HALLOWEEN!
Cheers, CW


Looks great! Have ideas on how you would do it if you weren't making a hanging sleeve?
ReplyDeleteYa, I've got a couple of variations on how to do the back: If I'm doing a kid quilt I will construct the back with a seem and leave it partly open so's I can pull everything thourgh the hole and then whip stitch the seem together. Or construct the back with a flap (like a pillow case and then sew that shut.
DeleteI like your happy pumpkin. Thank you for a great idea and the quilt show. I really like the green one.
ReplyDeleteohh I really like the green one witht the sort of irregular piano border ... maybe that's how I can use up soem of my scraps of my green project ...
ReplyDelete