This month's BOM is a "Catch-up" block. At PVQA we have a credit system for our BOM. Basically, if you want to put in for the drawing you have to make the block and for every block you make you get a credit. People accumulate credits and when they win a BOM there block credits are debited the number of blocks that they won. It may sound kind of strict but through trial and error we've found this system encourages people to participate. This month is a scrappy use-all-your-own-fabric block. You can make up to 6 blocks and earn up tp 6 credits if you need to catch- up on your credits or bank some credits for when you win!
I'm linking up with Scraptastic Tuesday, the linky buttonis just to the right! cheers!

Since we'll only be making one to a handful of blocks I would start by cutting and laying out the blocks individually as shown in the above pic.
Choosing Fabrics:
The real trick to picking fabrics for a design like this is to get the contrast right. The 4 patches running diagonally down the middle ( I'm calling that the spine) need to be a strong bright color. Then the five patches to the left need to be dark with the darkest on the lower left corner and the 5 patches to the right need to be light with the lightest in the upper right corner. Both sets need to contrast with the the 'spine' so that the spine stands out because that is what helps make the secondary pattern when you put the blocks together. Colors are really secondary to the value here but think primary and secondary colors. For example if you have a blue spine as above, yellow on one side and purple on the other set the bright blue off really nicely!
Cutting;
Follow the block design about and
Cut all the patches 2.5" square -16 total.

Some people might piece this in rows but I think it is a little more accurate to sew it in 4 sets of 4 patches. I lay the patches out in pairs as they appear in the block and sew the first round. I put the pairs right sides together and press them. The static Cling created helps to hold the patches together when they are sewn.

Pressing Seams:
The first round of ironing is real important to be consistent. If you do this the rest of the ironing pretty much falls into place And all your seams will nest and be easier to sewn.
Once again I put right sides together and press the units so they don't shift when sewn.

Now all those seams are nesting and you will be sewing against the top seam. This tends to push the seams together and make them match-up perfectly!
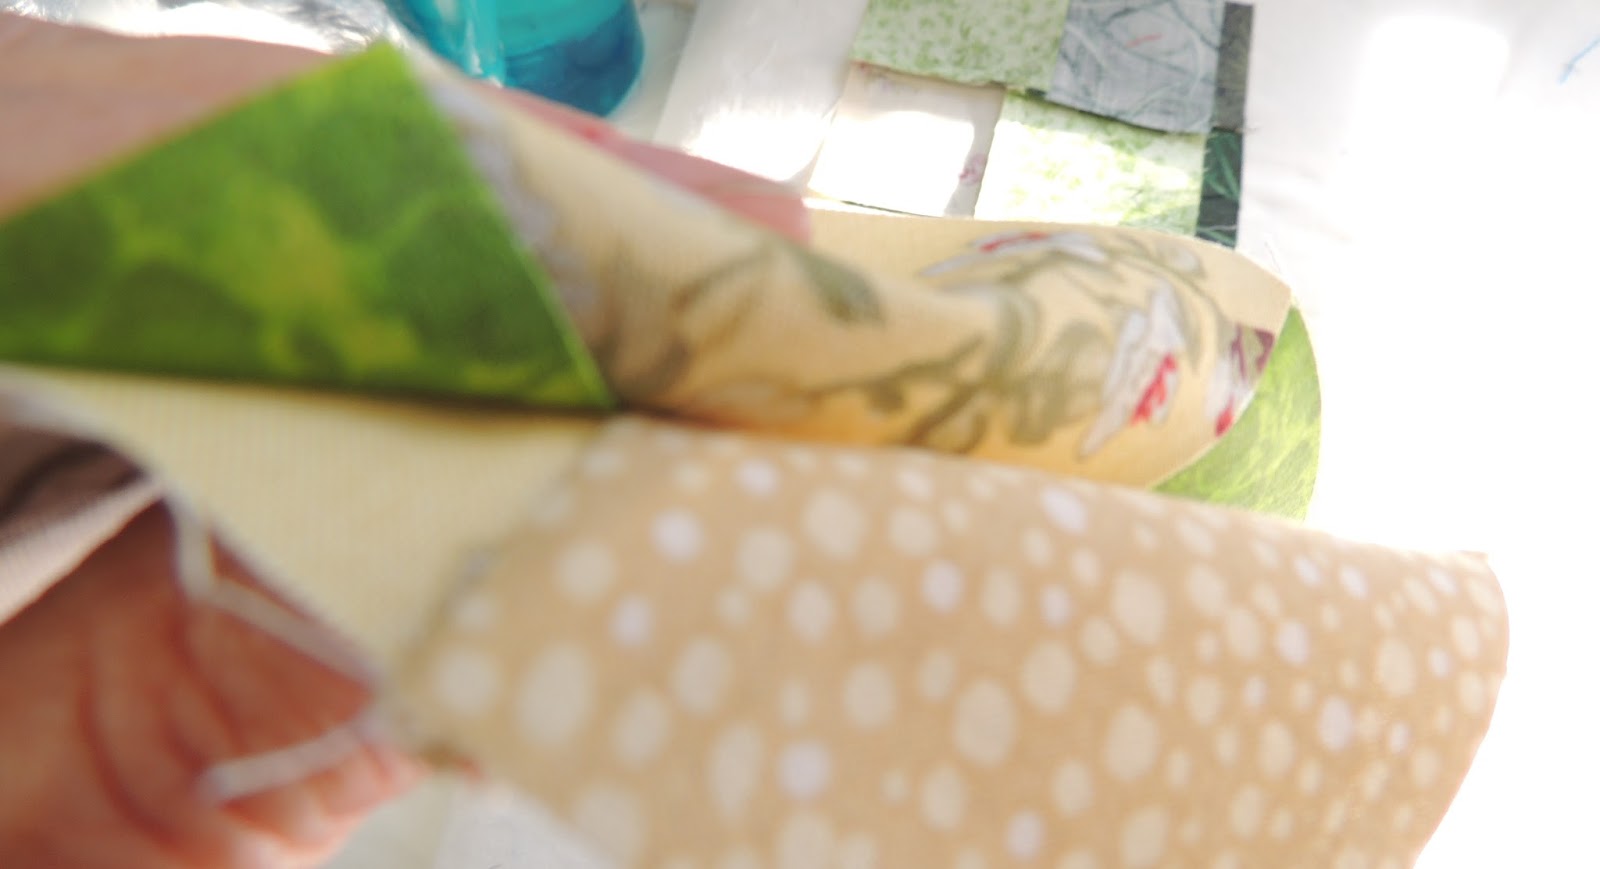
If you are a new bee and wondering what 'nesting' means look at the above photo. In the upper two patch the seam is ironed toward the green fab. That creates a slight bump which can be pushed against the slight bump in the lower two patch. That way all four patches will meet perfectly at that intersection!

Next round of pressing:
Notice the intersections in the middle of each 4 patch. I've opened the seams in the middle (pulled a few threads out at the end of each verticle seam) and pressed each horizontal seam to opposite sides. You can see it best in the lower left 4 patch.
This distributes the bulk of the seams more evenly and when you go to sew the next round the seams will nest again. This time however you are sewing toward the lower seam so it's a good idea to put a pin just above those seams to anchor them to each other. See the pins on the right side of the photo.
Press again before sewing.


Open the last set of seams and you can see how tidy the whole block looks on the back side?!

And the size is pretty accurate, 8.5" unfinished!

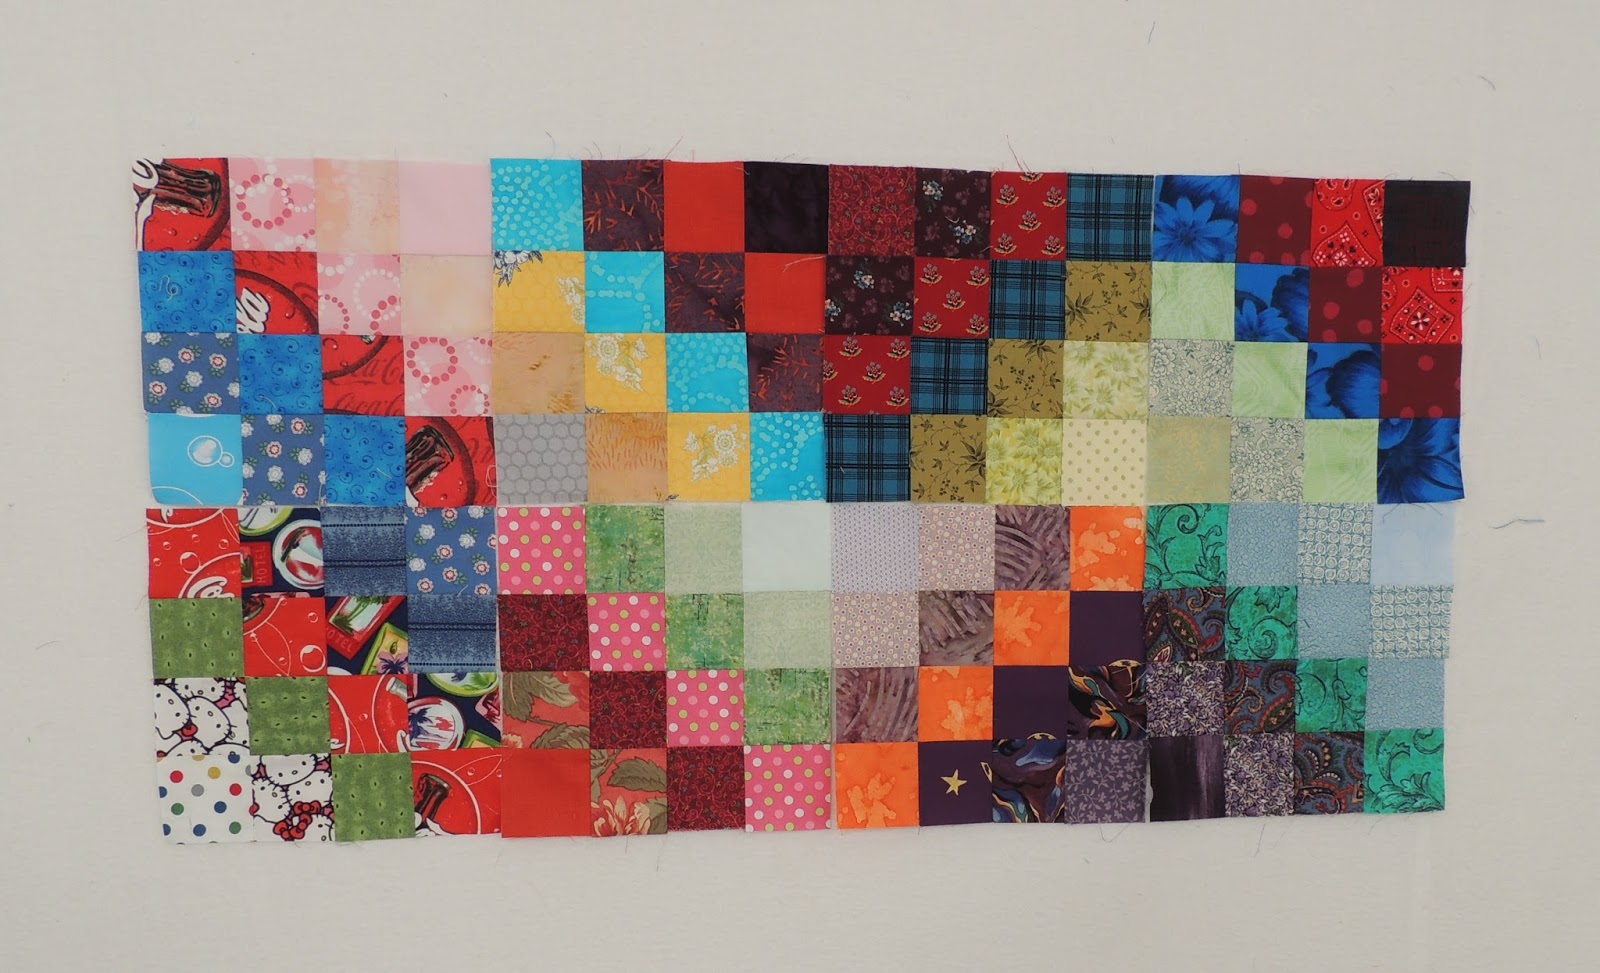
The cool thing about a block like this is just how many ways you can arrange them to make a top! Here are a few of the possibilities!

It's just as versitile as a log cabin block!
I hope you have fun with this Block!
Happy August!
Cheers, Claire W.


Great block and great instructions again. My plan is to make a quilt top of all you BOMs, so don't stop posting them! Anne
ReplyDeleteThis is another great block! Your instructions are always so well written, with excellent photos to go with them. Thank you!
ReplyDeleteVery cute scrappy look! I've tried spinning the centers to lay flat like you have but haven't had any luck with it. Karen
ReplyDeleteAlways the best teacher!!!
ReplyDelete