
Here's how I got there...
I recently treated myself to a couple of new books. One by Sherri Lynn Wood, "Improv Handbook for Modern Quilters" really got me thinking about solid strips in long bar formations see p. 32!
That quilt gave me the idea for this long scrappy unit.
Here's how I constructed it:
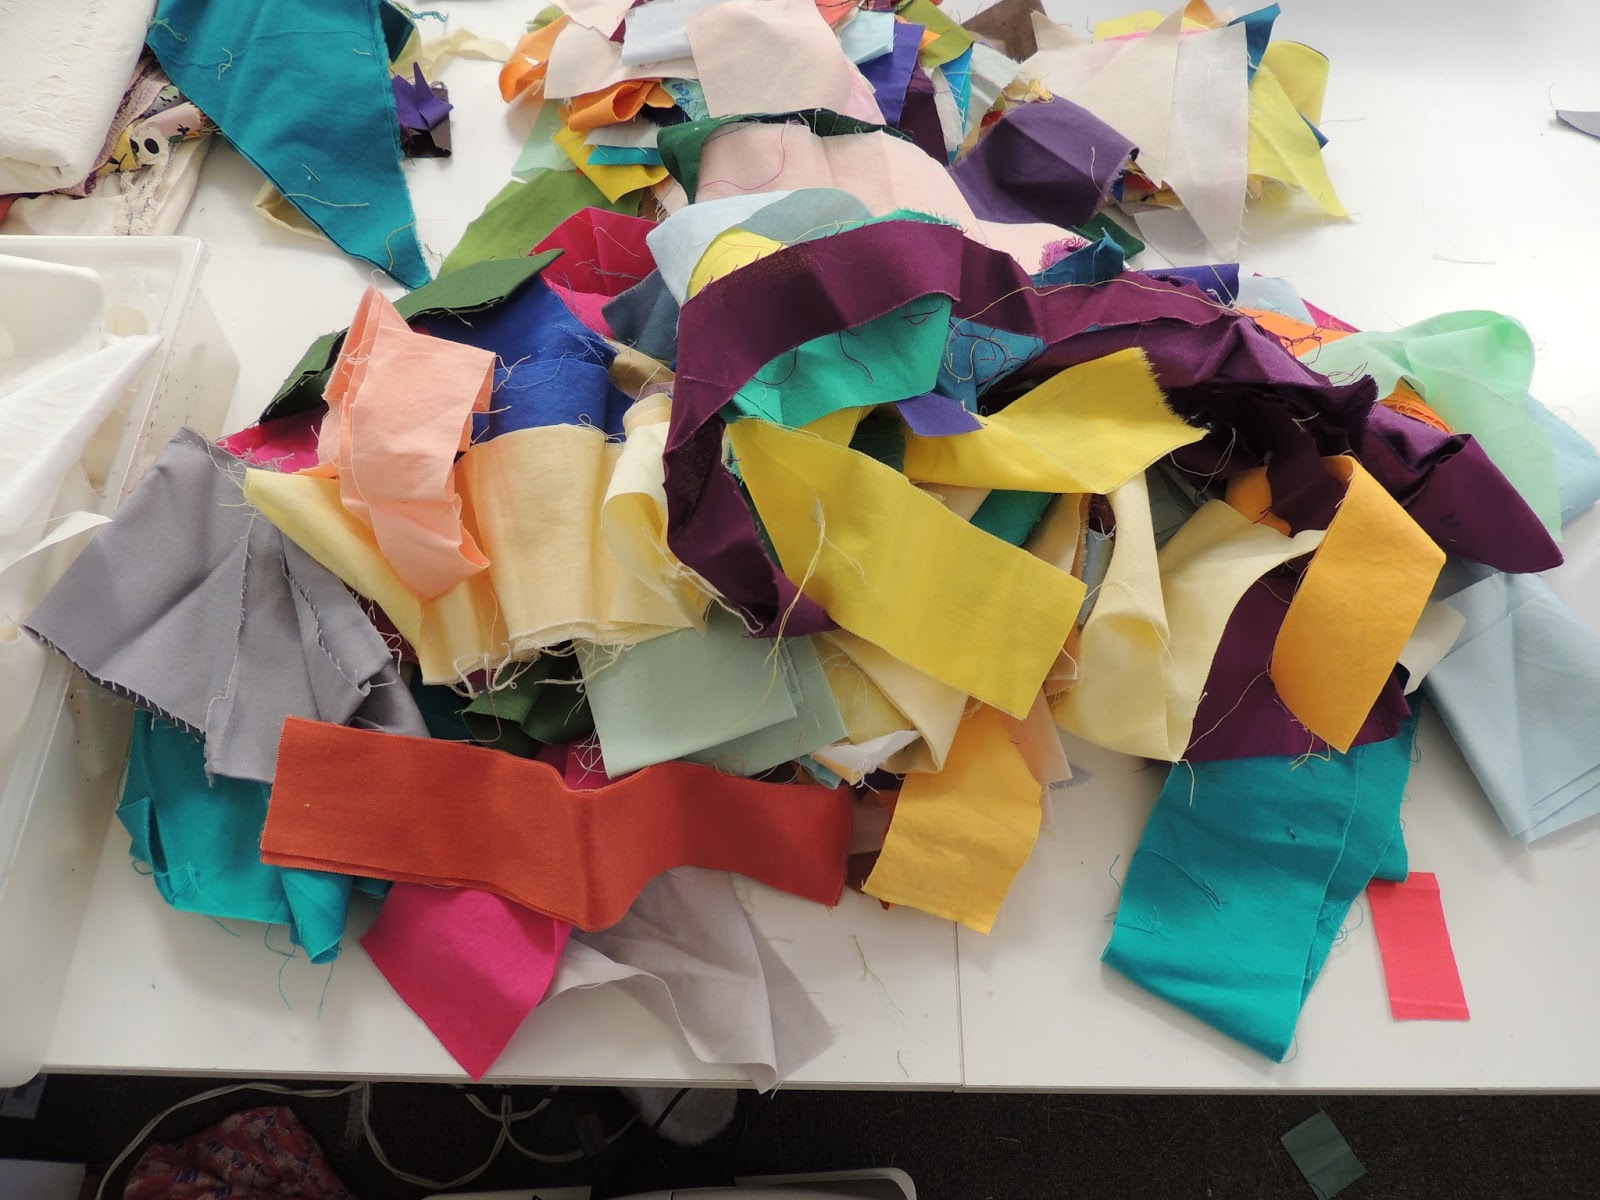
I picked a whole bunch of solid strips from my Solids scrap basket.

First I took all those strips and stacked them. The order of color and width were not important at this point. I just wanted to get them tidy so I stacked them and ironed them on-mass.

Then I cut two 10 inch (+/-) sets off one end of the stack and started to sew. By selecting alternately from each pile to make the strip sets I could keep the colors pretty random but not have leftovers or repeats.

I needed to make a bar of strips about 65" long and 10" wide so I put the strip sets up on my wall with gaps here and there so I could add strips to balance the color and measure how many more strip sets I needed to make 65".

Once I got my stripy bar together I needed to cut some Curves. That's a pretty long bunch of curves to cut without a guide so I folded a long piece of butcher paper accordion style and then cut free hand a gentle S curve to use as a guide.
With a little trimming I got them the shape I wanted.

I spent about a half a day cleaning my sewing table to make room for my two sewing mats end to end. That way I could cut my first curve in one continuous motion. I cut the curve free hand with my rotary cutter using the edge of the butcher paper as my guide.

Then I layed the curve side on the white fabric, both right sides up and used the curve of the stripy bar as my guide to cut the white fabric.


Then I flipped the white fabric right side down on the stripy bar and put pins to mark the hills and valleys of the curves.

Curved piecing is a bit like easing in a sleeve in a garment. You sew 1/2", adjust, sew 1/2", adjust, curse a bit, sew 1/2" etc.

You can see I'm keeping pretty even with my pin markers!

Here's the seam before pressing.

And after pressing...
Now by laying the other curvy edge of the white fabric on top of the right side of the bar you can see how the finished bar will look. I will show you where this piece is going next time.
Phew! Some piecing can be intense! I think I'm headed for a nap!
Happy weekend!
Cheers, CW


WOW! I don't recognize your sewing studio anymore... Half a day just to clean it up?? EGAD... time very well spent
ReplyDeleteI like the idea of cutting curves into these long strips - very effective.
ReplyDelete