I treated myself to a little retail therapy before xmas. A 1 pound bag of homespun plaid scraps! The scraps turned out to be a whole stack of selvage to selvage strips 4" to 5" in width. They were pretty but the quality of weave was not great so they weren't going to make good fabric for fine piecing so here's what I did. This is a quick technique to turn those strips into scrappy blocks like those pictured above.
First cut off about 5" from the selvage end of each strip. Generating a nice stack of patches. Some square, some not-so-much, but for these wonky blocks it will work just fine.
Next cut the remaining wide strips into 2" and whatever was to the right of the ruler, some strips will be a little less than 2" and some a little more.
Then I match-up each patch to a strip. Since they were all in the green, red, brownish family they all coordinated pretty well together. Then each patch got sewn to one end of a strip. Sew one after the other assembly line style. Don't iron yet!
Grab that pile, snip the connecting threads, take the other end of the strip and sew it to the opposite side of the patch. Take that pile of strip / patches to the ironing board and snip and iron.
Yup, I use a pair of scissors. What you lose in accuracy and fabric you gain in time and the wonkiness will get dealt with in the end.
Stack your ironed units with the corresponding strip. and go back to the sewing machine for round 2.
Notice The strip follows the edge of the patch so's to get all the edges. Feed the batch through and turn around and sew the other side.
Back to the ironing board for some more snips and ironing.
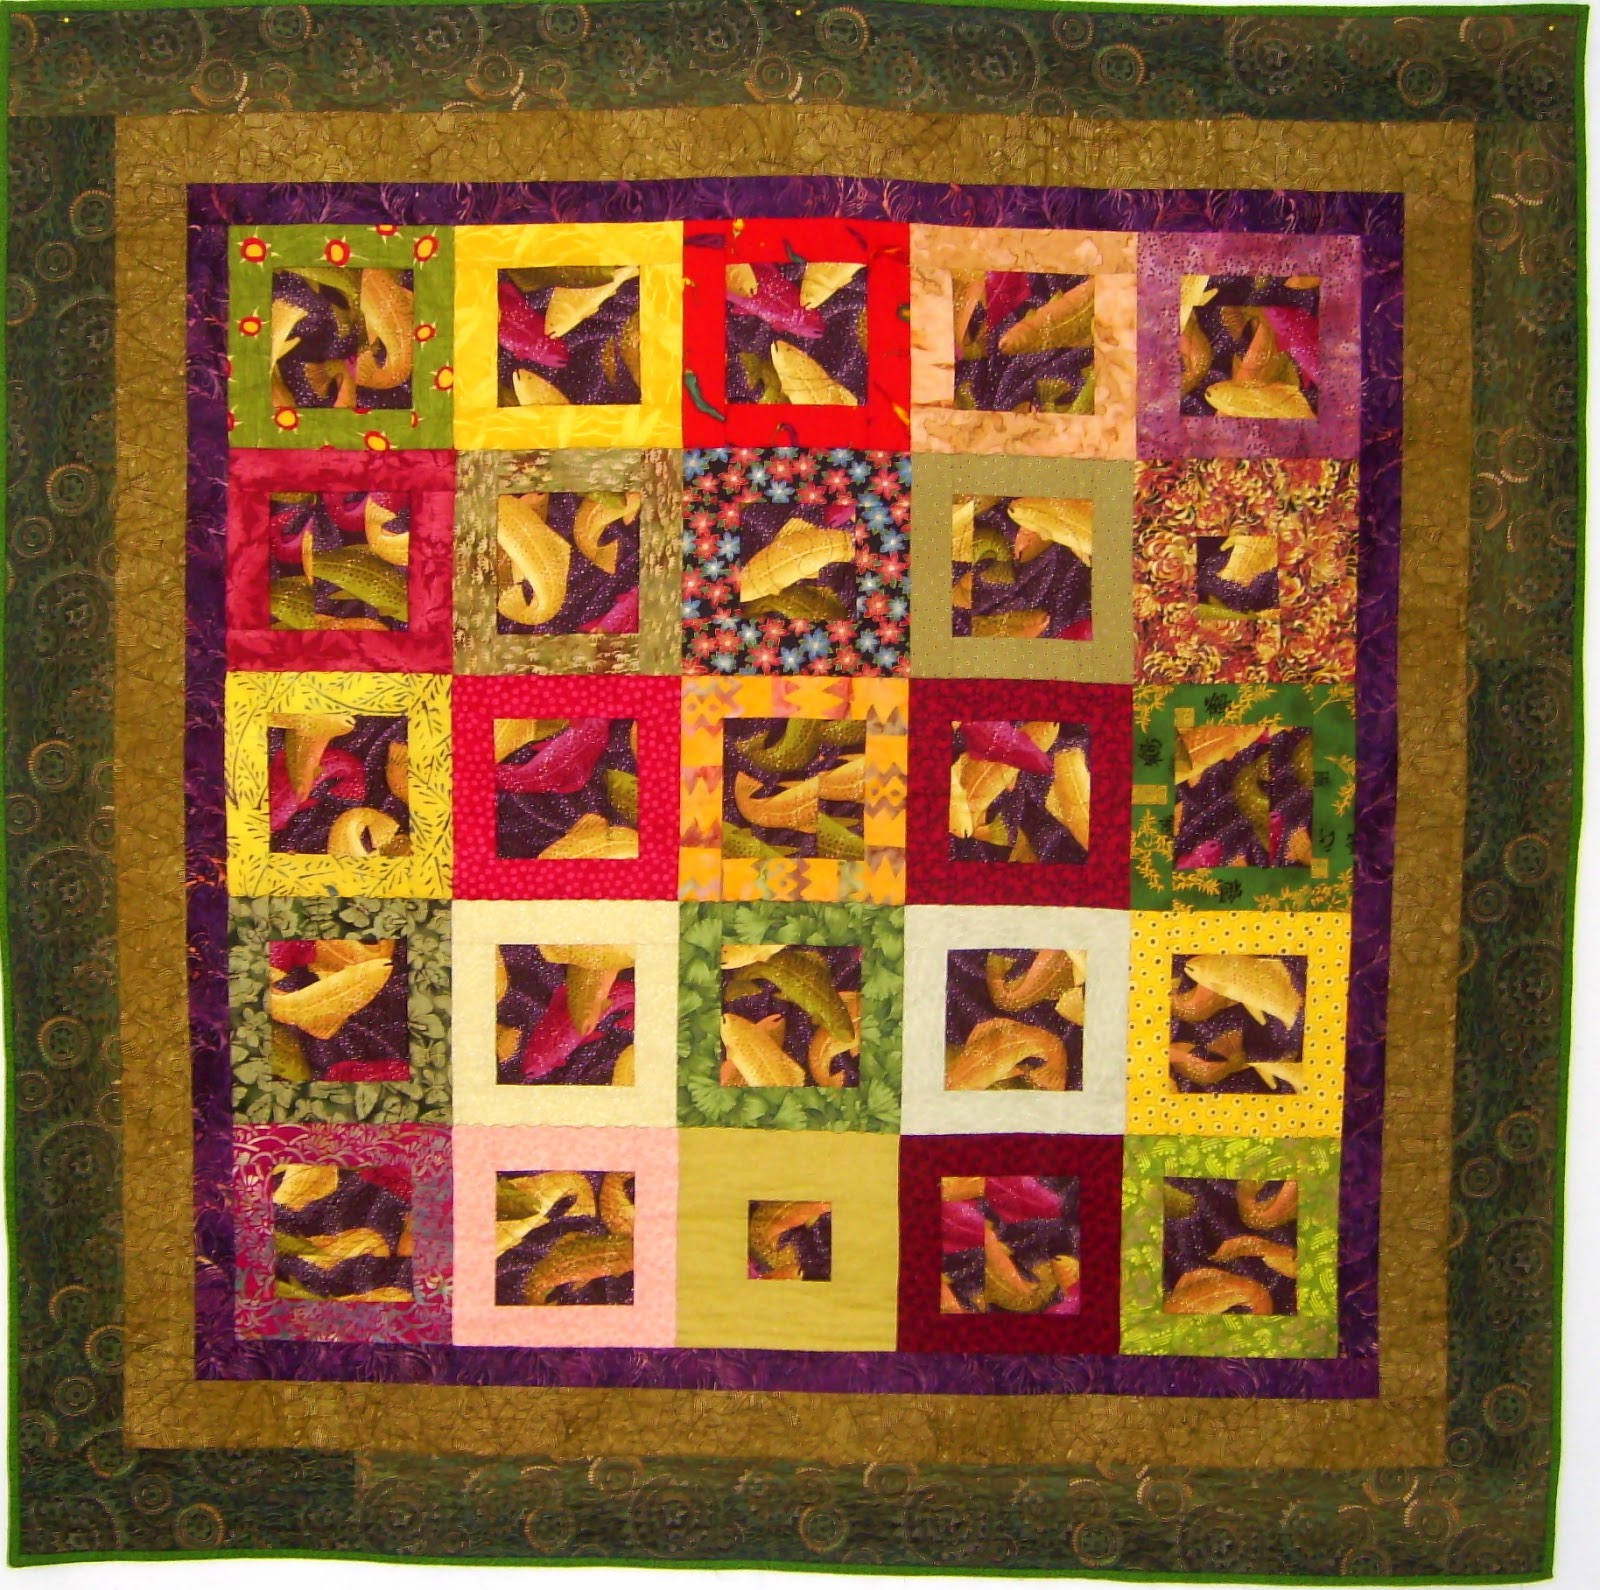
Even stopping to take pictures I still managed to crank out about 36 of these blocks in about 2.5 hours. You may be wondering how I get all those different sized blocks into a top. There are a number of ways, which I will detail in my next blog after the New Year. I know that's kinda sneaky but I hope I've peaked your curiosity! In the mean time here are some other quilts in which I have used this general technique. Some used uniform patches and strips which made the blocks all the same size but all used this assembly line style construction.
I hope your New Year is full of good health, happiness and prosperity. Cheers, Claire W.


Can hardly wait for your next post. These blocks are great!!
ReplyDeleteSneaky, but I would have been back anyway. Wishing you a Happy New Year and may your bobbins be ever full
ReplyDeleteI love these blocks, Claire, and I appreciate your instructions for making them quickly. I can't wait to see your next post with more information about using irregular-sized blocks together. Thanks!
ReplyDeletelove these blocks! I have made quite a few quilts using this block, goes quick and easy and great way to use up extra strips!
ReplyDeleteok but I never sewed them together this way can't wait for your next post!!!!
Happy New Year
kathie
I love working with homespuns! I've made a quilt similar to the top blocks.
ReplyDeleteHappy 2013 to you Claire!!
Yay more plaid blocks ... well yeah I'm looking forward to see how you "fix" them into a complete top. My sewing over Christmas was mostly doing repairs, like fixing a "black sequins on black fabric" t-shirt - well I got a pair of socks in return, so not too bad after all. You seem to have a ton of quilts layign around .. I especially like the frog one.
ReplyDelete(just as annoation - I have no idea what homespun is)
What an awesome idea. Love your plaid and floral quilt. You have inspired me to use two fat quarter packs of plaids that I have had for years. I could never find anything to do with them that spoke to me before, till I saw your quilt. So glad to find your blog during the Hop.
ReplyDelete