Sunday, April 8, 2018

My Design Wall, I had to Laugh!

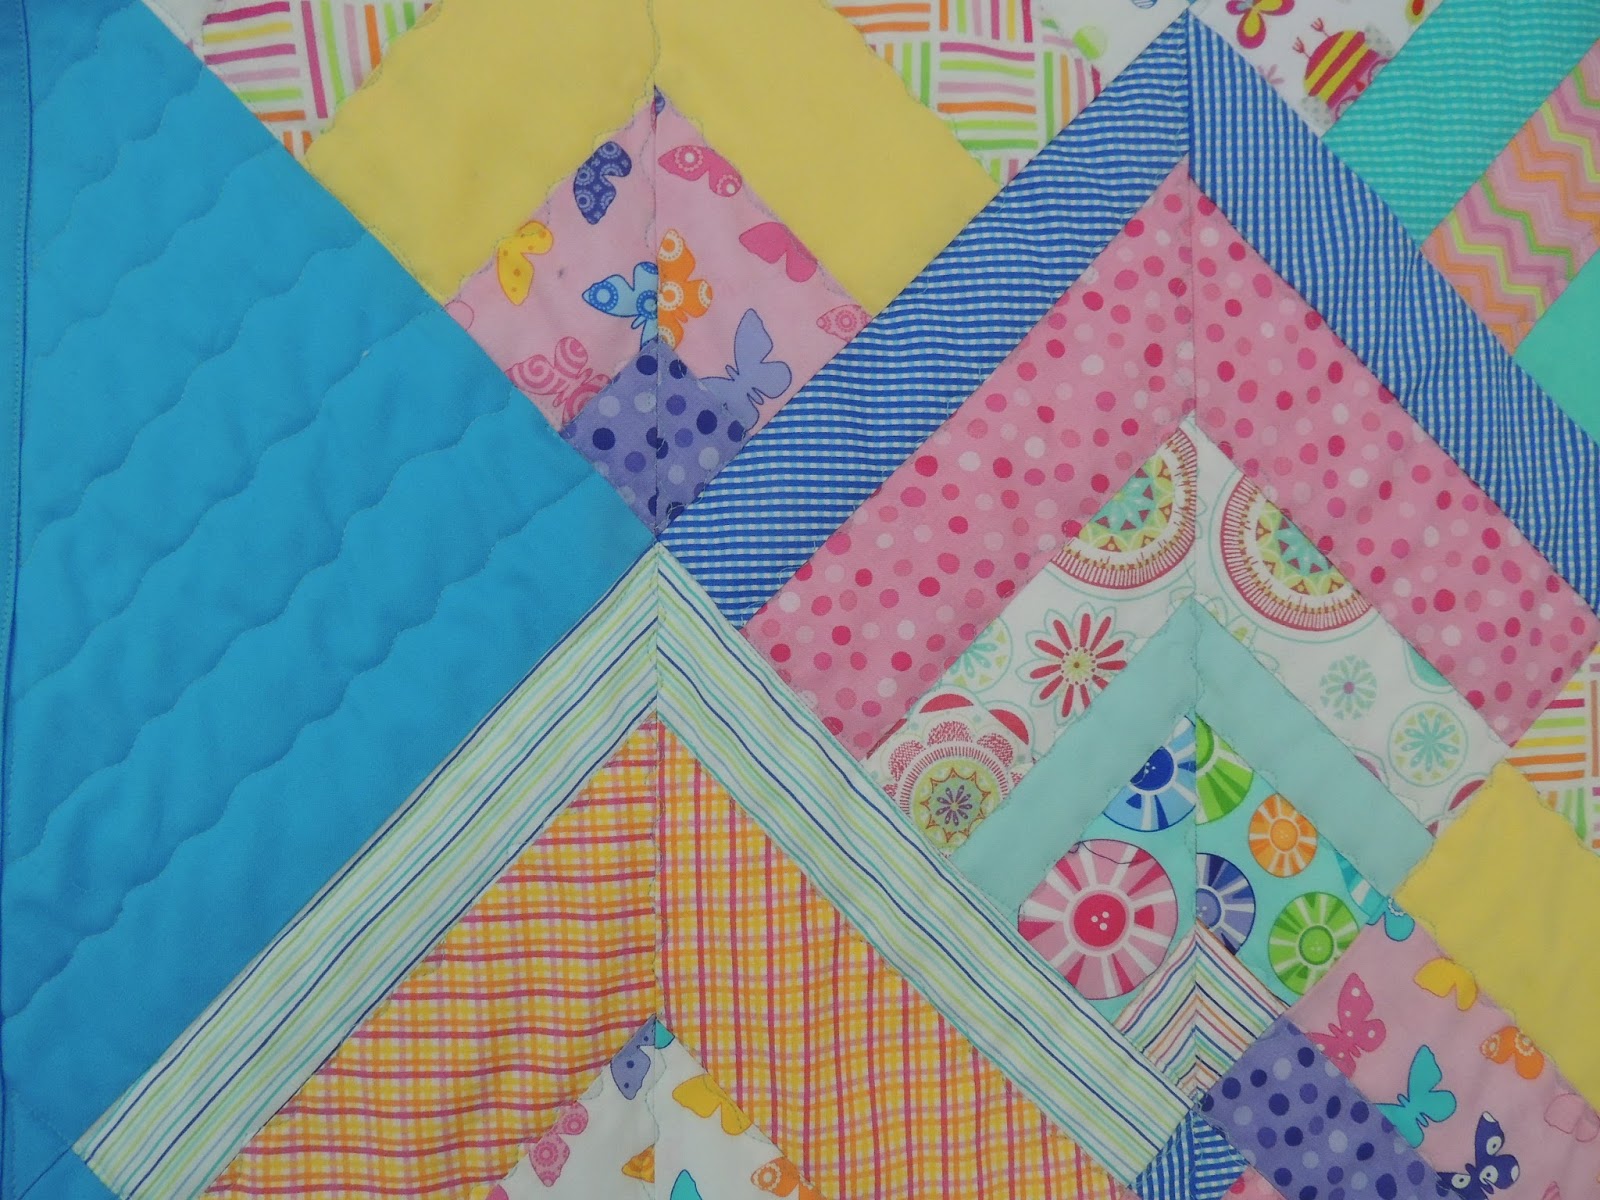
So!  I went to take a pic of the quilt in the middle of this photo thinking that I would simply crop out all the other projects, but when I went to look at it on my computer I had to laugh at all the layers of production that were going on.  Rather like an archeological dig through my sewing behavior.

On top is the Finished quilt that I intended to show.

The bright blocks peeking around the edges on the sides of the central quilt are some sampler blocks I've been working on intermittently while finishing the central project.  I posted something about this back in Jan.  I hope to finish this soon....

Then the borders for my Flannel project which I have not moved for fear I would abandon the project as soon as it was out of sight because I have taken on the daunting task (for me anyway) of Appliquéing these borders.  What was I thinking?!

And finally on the top and to the right are some mostly solid squares for a modern quilt design that I have mostly lost interest in but I think if I keep it in my sight I will eventually get it together.....
Well I suppose I should simply celebrate the finishes that I do Finish!
I used a very simple squiggly line to quilt this piece and I backed it with a nice soft cotton stretch knit.  Here's a good example of Keeping The Quilting Simple.  You can hardly see the quilting on the printed fabrics (it runs along the seam lines).  Doing any fancy quilting would be a waste of time.
Well it may not be the most efficient system in the world but it works for me.
Are you wondering how I keep everything stuck onto the wall?
I have a big piece of white flannel hemmed and then thumb tacked every 8" or so at the very top of the wall.
Single layers of fabric will cling to the flannel simply through Static forces but if I want to attach something heavier, like the quilt in the center I simply pin it on.
I know some people like having some cork board or something behind the flannel but I find the simple flannel back provides more flexibility.
I feel very fortunate to have the space and resources to leave things in view.
It helps me keep track and stayed focused (more less).  Oh stop laughing, OSL!
Have a great week!
Cheers, CW

Monday, April 2, 2018

Revisiting an old BOM and More Flannel Progress

I bought a small scrap bag of Moda strips from Green Fairy recently.  They turned out to be a coordinated set of bright prints.  It just seemed perfect for a technique I used in a BOM that I published back in August 2016. http://cspoonquilt.blogspot.com/2016/08/pvqa-august-2016-bom-another-scrap.html


This is a great scrap buster and great for charitable quilts.  A lot of bang for your sewing time!
I also managed to get another vine sewn for my Flannel quilt.
I hope to get the other 2 sides sewn soon so I can get started on filling in all the spaces...the fun part!
Have a great week!
cheers, CW

Monday, March 26, 2018

Flannel Progress

I got my Applique border figured out!
I knew I wanted to have a vine so I looked at straight vs S shaped.
Even tho' the S shape would be more work it definetly looked better.
Here's how I make an S shaped vine without measuring.
I cut a length of paper to match the border.
I fold it over until I get something close to the interval I want.
When the paper is folded I trim it to the same width as the border.
I mark a line down the middle and draw a gentle S curve.  I just eye ball it.  The middle line helps me keep it symetrical.  Notice the top of the line defines the outside edge of the curve / vine. 
Then I cut on that line.
I lay the cut curve strip on the border fabric and lightly trace the curve onto the fabric. The stright edge of the paper is the outside edge of the border as a guide.

There are many ways to cut the vine.  This time I used extra wide bias strips,  folded them in half and folded the raw edges under,  it makes for a very substantial vine.
Pin that to the penciled line and you are ready to sew!
I machine sewed this vine with a straight stitch as close to the edge as possible on both sides.
I'm thinking about varying the motifs on the vine (so I don't lose interest).
Like all things this is going to take much longer than I had expected! LOLOLOL 
We shall see...
Have a great week!
cheers, CW


Friday, March 23, 2018

Flanneling along....

The colors are a little off but this is what i've sewn so far..  I'm liken' it!  The outer beige border is calline for some (dare I say it?) Applique?!  I'm thinkin' it needs a vine with some flowers or something?
This is going to slow me down, but that's OK.  I'd rather get it right (from my own perspective) than have it finished and say "darn I should a dun it that other way!"
These are first world problems!
Have a great weekend!
cheers, CW

Monday, March 19, 2018

Flannel Quilt

While I've been posting all these Fair Pix I started a flannel quilt to use during the cold months...OK it is almost Spring but right now it's still pretty cold so I'm going-for-it.

This was my start;  I had one piece of flannel that was big enough to go in the middle and a scrappy piece that I was able to cut out a number of various sized rectangles.  This project was really motivated by this charming print.  I just love it!   I found these pieces in the Bargain Garden (guild flea market).  It's got to be at least 20 years old.  I know this because I bought some at the local fabric store about 20 years ago.  I used it to back a kid quilt.  I always regretted not getting enough to make something for myself.  So when I saw this at the BG I snatched it right up!
I've made some sewing progress, I'll post when I get some pix.
Have a great week!
Cheers, CW

Sunday, March 11, 2018

A Few More BOM Finishes!

I was very happy to see some finished quilts in the show that were made by members who had won blocks during the time I was BOM chairperson!  It's always great to see what people do with their blocks.
This first quilt is from November 2016 you can read about it here, http://cspoonquilt.blogspot.com/2016/11/pvqa-november-bom-2016.html
This was a blue and white block but the touches of red around the sides is really effective! 
The quilting incorporated snow flakes, it went well with the snowmen in the fabric!
This next quilt was BOM in March 2017 read about it here http://cspoonquilt.blogspot.com/2017/03/march-2017-pvqa-bom.html
Front 
Back 
This last quilt was Jan 2017 BOM, read about it here, http://cspoonquilt.blogspot.com/2017/01/pvqa-january-block-of-month-2017.html
This was the BOM 
And then Heather used a whole other set of blocks for the second side. 
The BOM quilts rarely come out looking the way I think they will  but they are always wonderful.  There are just soooo many possibilities!
Have a great week!
cheers, Claire W.

Monday, March 5, 2018

Quiltcon Pix #2

I was going to post pix of all the award quilts at Quiltcon but realized they're all on the Quiltcon web site and probably show off better than my pix so here's that link; https://www.quiltcon.com/winners
If you have not visited MQG's webpage it's worth a visit and you can see all the latest in the 2018 show as well!
My local guild's Quilt Show has always been the same weekend in Feb. as Quiltcon . So after a great visit to Quiltcon in Pasadena I got up at 6 AM on Sunday (the 25th) to drive home to see my home town show.  Here are some Pix of my fav's from Pajaro Valley Quilt Association (Santa Cruz County, California, USA) annual Quilt Fair!


This was our donation quilt!  We actually ran out of tickets! It also won a ribbon at the County Fair!
Made and donated by The Off Kilter Quilters!


It was a great show (as usual)!
Have a great week!
cheers, CW

I Fell Down A Ribbit Hole !

 Falling down a rabbit hole.  I feel like that a lot lately.  Time just seems to escape me or get eaten up by chores?!   That translates int...